
How to lay tongue-and-groove floor boards step by step
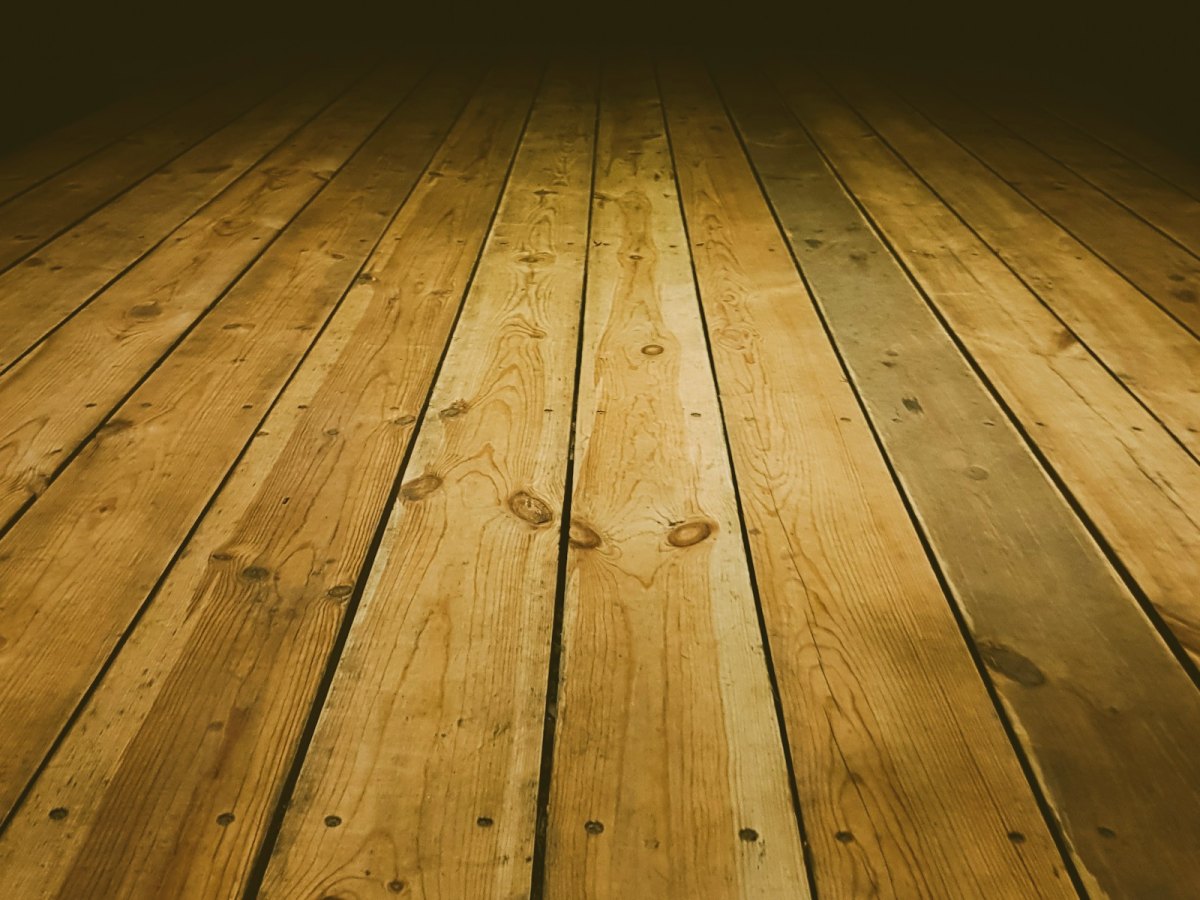
Tongue-and-groove floor boards are laid across level joists, starting from the straightest wall with the groove facing the wall and leaving a 10–15 mm gap around the edges. Each board is knocked tight against the previous one and fixed invisibly, with a nail or screw driven at an angle through the tongue. Below is the whole process step by step, from acclimatisation to oil or varnish, plus a tool list and how many square metres to order.
1. Preparation and acclimatisation
Wood reacts to humidity: it shrinks in dry air and swells in damp air. Before laying, leave the boards in the room where they will be fitted for at least a few days, stacked with spacers so air reaches every side. The room should already be closed in: windows fitted, plaster and screed dry, and the heating on during the heating season. Ask about the exact parameters of a batch on +371 29568256.
2. Joists: spacing and levelling
Softwood beams such as 50x100 or 50x150 work well as joists; see our fresh-sawn boards and beams. On the ground floor, over soil or on concrete, choose pressure-impregnated beams, as the moisture risk is higher there.
| Floor board thickness | Recommended joist spacing (centres) | Typical use |
|---|---|---|
| 30 mm (30x92) | about 50–60 cm | living rooms, bedrooms |
| 35 mm (35x92) | about 60–70 cm | heavier loads, hallways, kitchens |
Level the joists with a long spirit level or a laser, using hard packers or wedges rather than wood chips. Joists run across the direction of the boards and are fixed to the base with brackets or anchors.
3. Moisture and ventilation
- On concrete, lay a moisture barrier film with overlaps under the joists.
- Over soil, the plinth needs air vents so moisture does not build up underneath.
- If there is insulation under the floor, leave a small air gap between it and the boards.
4. Direction and the first board
Boards usually run towards the main window, or along the walking direction in a hallway, but always across the joists. Lay the first board with the groove to the wall and the tongue facing the room. Put 10–15 mm wedges between wall and board: this gap lets the wood move and is later covered by the skirting. Also face-fix the first row close to the wall, where the skirting will hide the screws.
5. Fixing and joints
- Secret fixing: a nail or screw at 45° just above the tongue at every joist; screw length roughly 2–2.5 times the board thickness.
- Tight joints: close the boards with a floor clamp or wedges, tapping through an offcut, never directly on the tongue.
- End joints: always over a joist, and staggered by at least one joist spacing in neighbouring rows.
- Lengths of 3.0, 3.6, 4.2 and 4.8 m help you cover a room with fewer joints.
6. The last board
The last row usually has to be ripped to width, keeping the same 10–15 mm gap at the wall. Tilt it in, pull it tight with a lever and face-fix it near the wall where the skirting will cover it.
7. Sanding and finishing
Sand the floor after laying, coarse grit first and then fine, and remove all dust. Oil or wax keeps a natural feel and is easy to touch up in patches; varnish gives a harder film on the surface. Apply thin coats and follow the manufacturer's drying times.
Tool list
- saw (circular or hand), drill/driver, hammer and nail punch;
- spirit level, tape measure, square, pencil;
- floor clamp or wedges and an offcut for tapping, chisel;
- sander, brushes or roller for the finish.
How many square metres to order
Multiply the room length by its width and add 5–10 % for cutting waste, more for awkward rooms. Example: 4 × 5 m = 20 m², plus 10 % = 22 m². Converting m² to m³ is explained in how many boards in 1 m³. We make our 30x92 and 35x92 floor boards ourselves in Latvia, so you buy direct from the producer; the current price per m² is shown in the calculator on the floor boards page. We deliver with our own truck in Riga and the surrounding area (delivery) or you can collect from our warehouse at Vējstūru iela 3. More tips in useful articles.
FAQ
How long should boards acclimatise?
Usually a few days in the same room; the bigger the humidity difference, the longer.
What gap should I leave at the walls?
About 10–15 mm all round, covered by the skirting.
How far apart should the joists be?
About 50–60 cm for 30 mm boards and up to about 70 cm for 35 mm boards.
Nails or screws?
Both work; screws make squeaks less likely and are easier to remove later.
Oil or varnish?
Oil gives a natural feel and easy touch-ups; varnish is tougher for busy areas.